Norton Rixson 73 Series 73BHER Security Overhead Concealed Closer with Emergency Release, Non-Hold Open Installa…_IS-73BHER
Open the original PDF document
View PDFSecurity Overhead Concealed Closer With Emergency Release, Non-Hold Open


Installation Instructions

This product can expose you to lead which is known to the state of California to cause cancer and birth defects or other reproductive harm.
For more information go to: www.P65warnings.ca.gov.
These instructions utilize Markar and Pemko Anti-Barricade Rescue Hardware, supplied separately, to illustrate an emergency release hinge installation. For other manufacturers' hinge and/or stop products, please consult Norton Rixson Support for templating and installation modifications.
READ AND FOLLOW ALL INSTRUCTIONS. SAVE THESE INSTRUCTIONS.
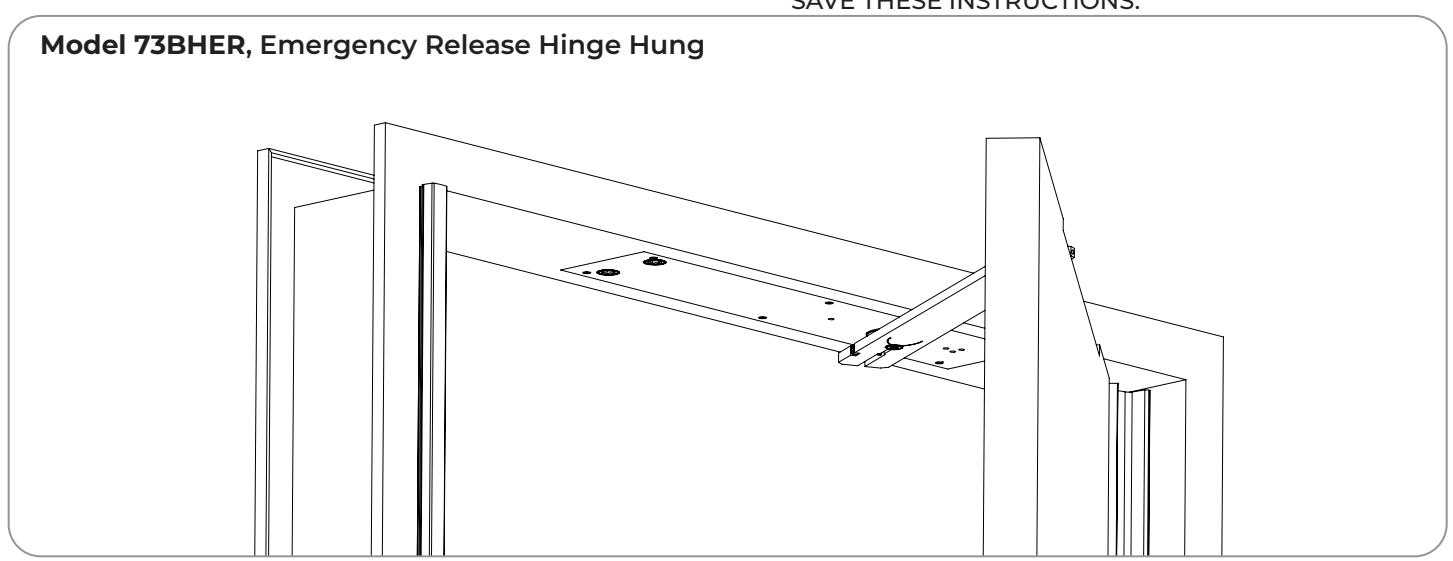
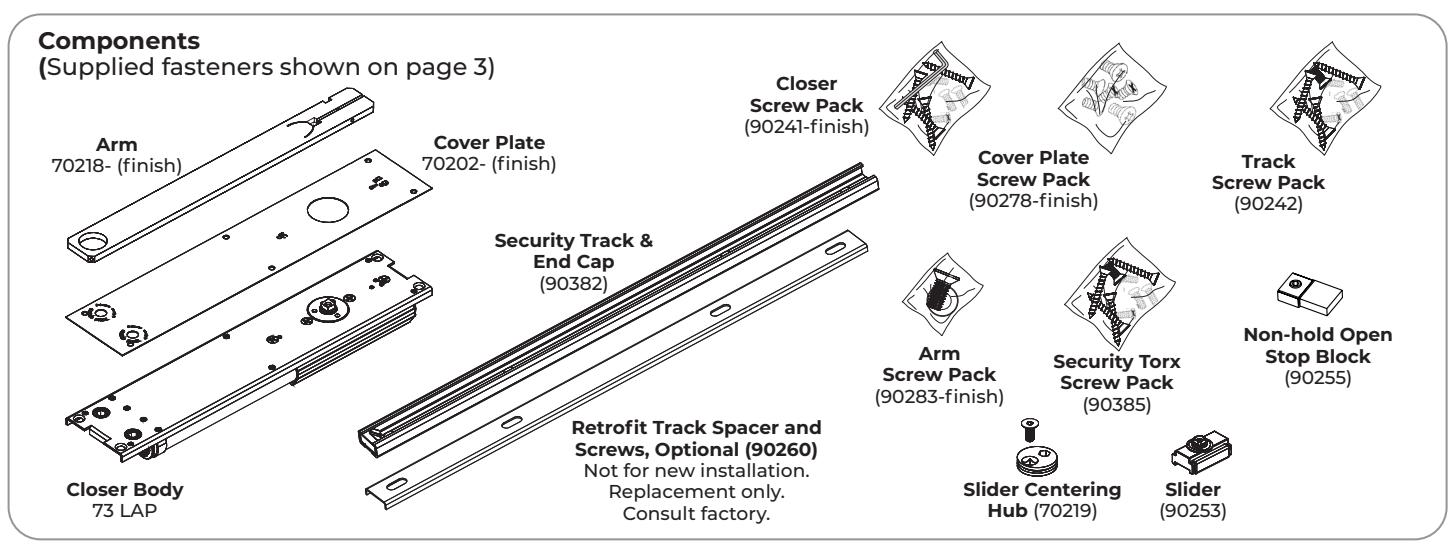
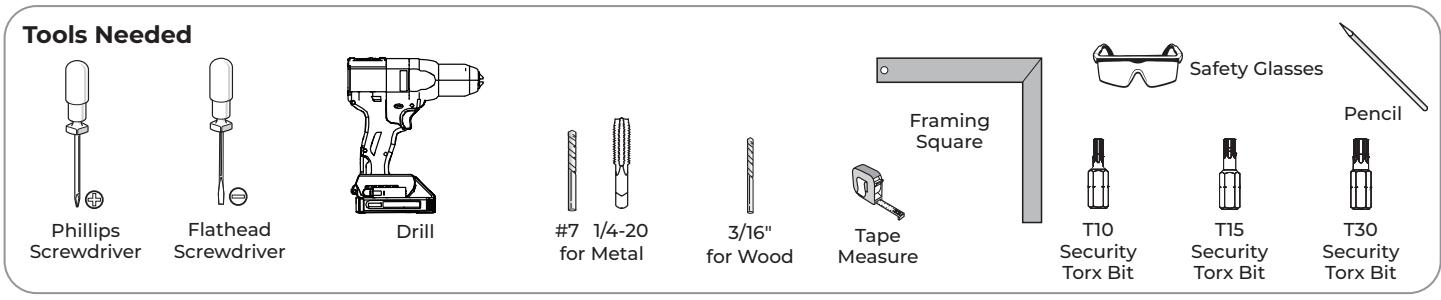

Security Overhead Concealed Closer W/Emergency Release
Contents
| Before You Begin | 2 |
|---|---|
| Mounting Hardware | 2 |
| Supplied Fasteners | 3 |
| Installation | |
| Adjustments | |
| Troubleshooting | 8 |
| 73BHER Overhead Concealed Closer Template | |
| · |
IMPORTANT:
- An improperly installed or incorrectly adjusted door closer may cause property damage or personal injury and will void product warranty.
- To avoid personal injury, DO NOT DISASSEMBLE THIS DOOR CLOSER BODY.
- · Door closers must be securely fastened to a prepared door and frame with fasteners provided.
Before You Begin
- All dimensions are given in inches (millimeters).
- A double swing continuous geared hinge, supplied by others, is required to hang door. Combining a separate emergency release stop, supplied by others, with this hinge is ideal. Refer to installation instructions with hinge and emergency release stop products to install.
- These instructions utilize Markar and Pemko Anti-Barricade Rescue Hardware, supplied separately, to illustrate an emergency release hinge installation. For other manufacturers' hinge and/or stop products, please consult Norton Rixson Support for templating and installation modifications.
- Door and frame must be reinforced for attaching screws.
Mounting Hardware
| Mounting Hardware | Door / Frame | Drill | |
|---|---|---|---|
|
Top Pivot, Track, Closer, Arm:
1/4-20 x 3/4-FHMS-TORX |
Metal |
Drill #7 (.201 dia. or 5.10mm)
Tap 1/4-20 |
|
Security Overhead Concealed Closer W/Emergency Release

Supplied Fasteners
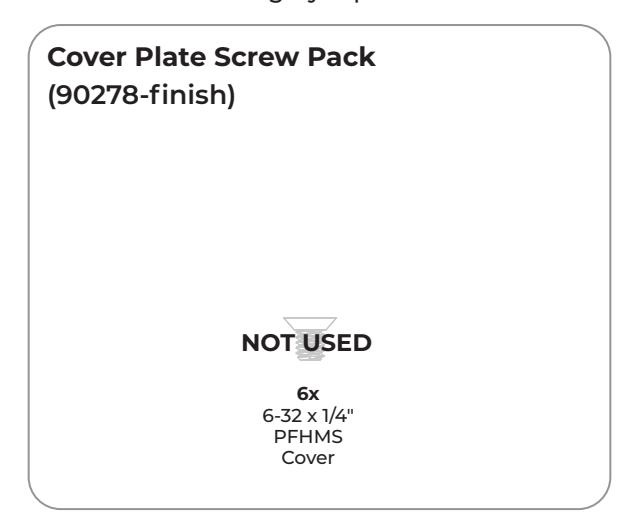
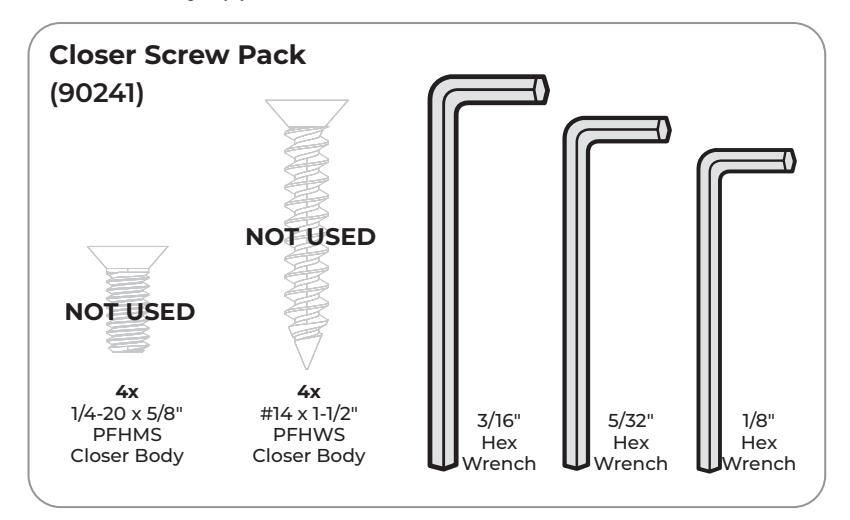
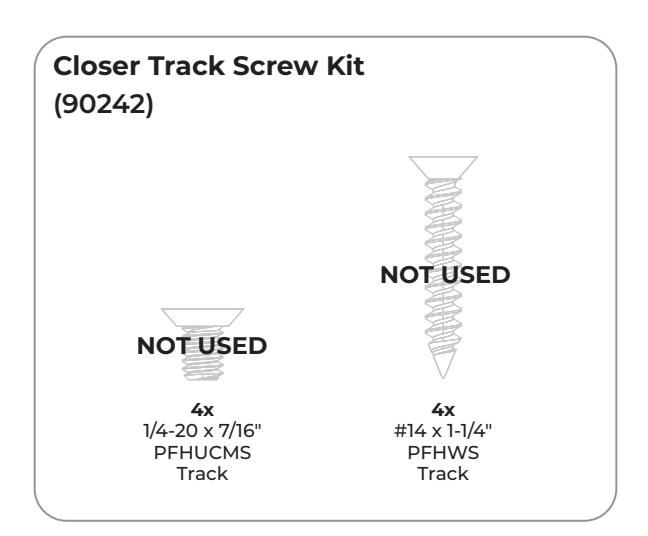
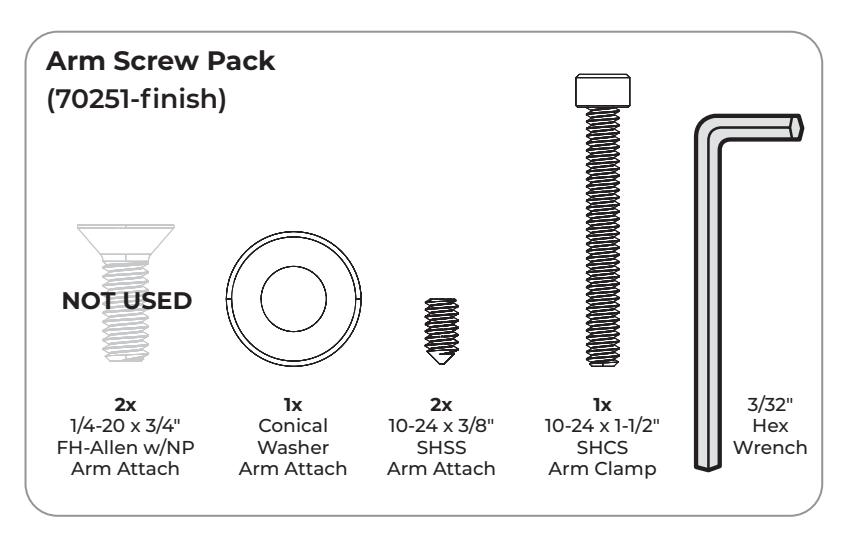
Hardware shown in gray is provided but not used for OMH/Security applications.
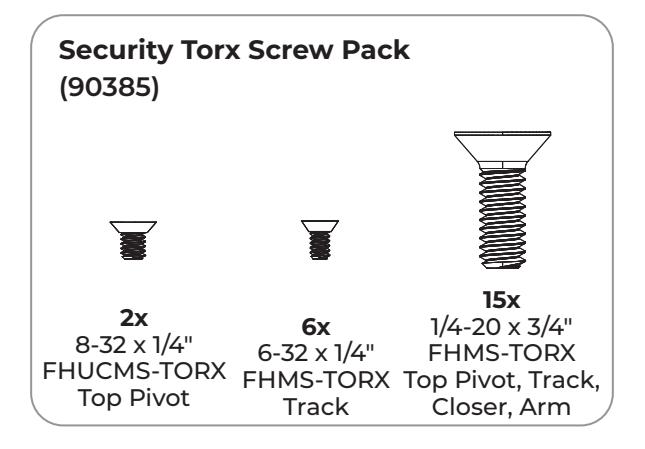


Security Overhead Concealed Closer W/Emergency Release
Installation
A. Prepare frame and door.
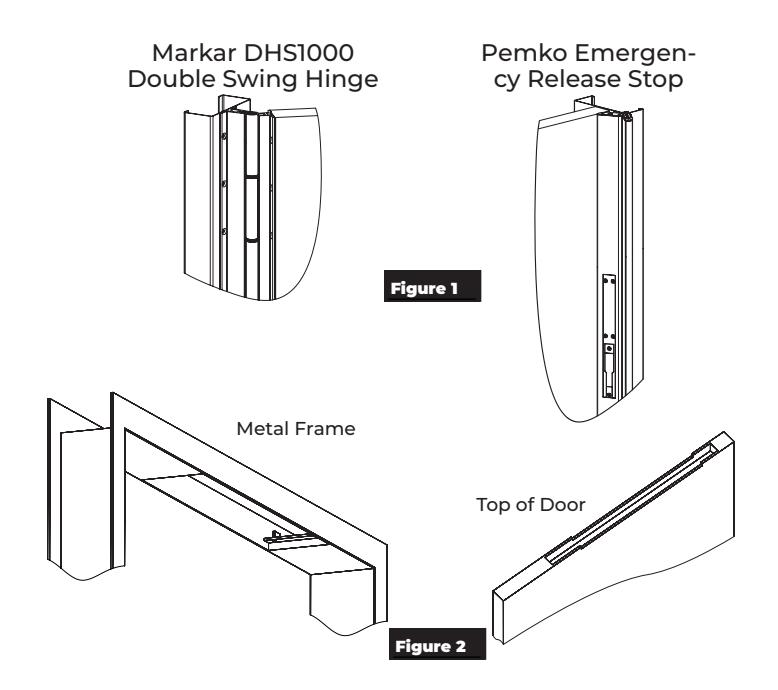
1. Using templates supplied with double swing hinge and emergency release stop products, prepare door and frame. (Figure 1)
NOTE: These instructions illustrate the Markar DSH1000 hinge and the Pemko DSHP01 hinge with Pemko ERS or ERSMP stop. For comprehensive information about those products, visit www. assaabloydooraccessories.us. For other manufacturers' hinge and/or stop products, please consult Norton Rixson Support for templating and installation modifications.
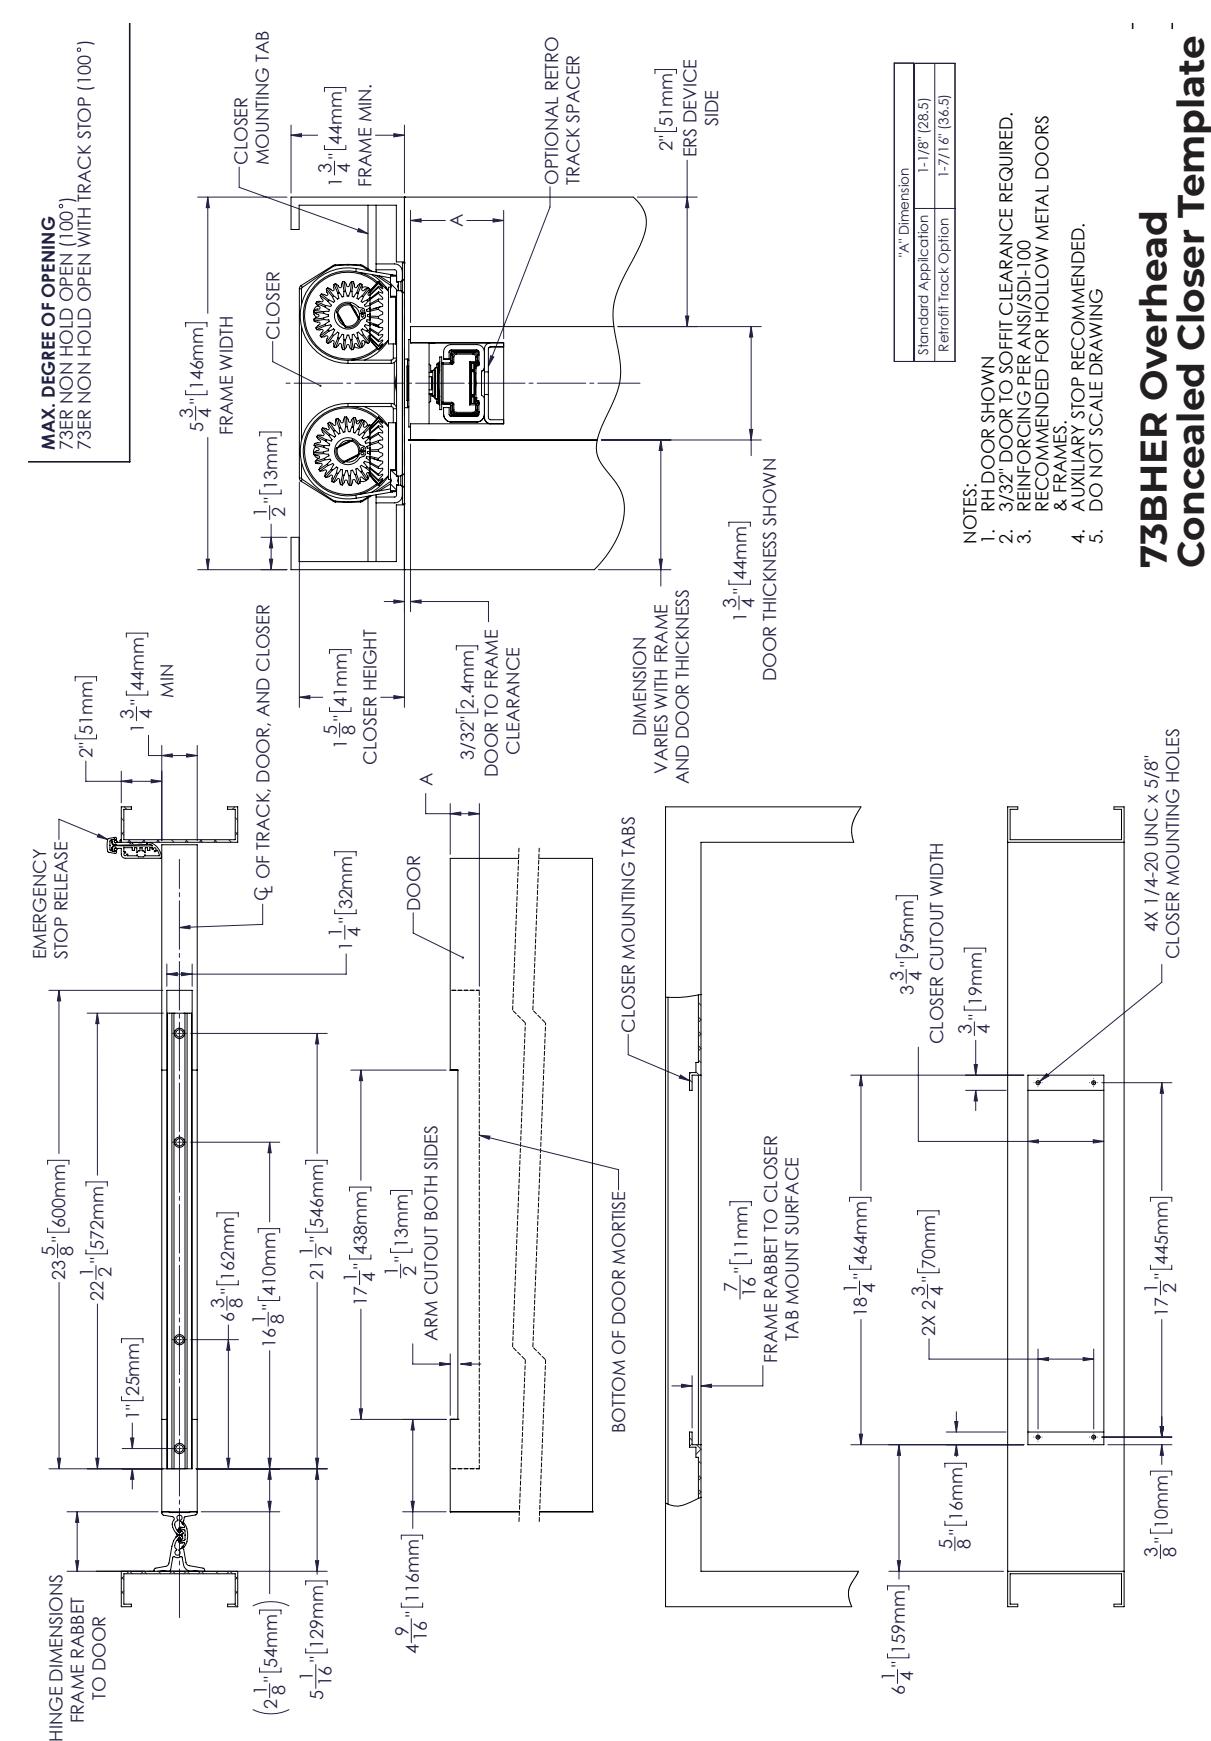
- 2. Using template provided with these instructions, prepare frame header and door for closer. (Figure 2)
- 3. Confirm all cutout dimensions for closer.
NOTE: Closer is installed centered to closed door. Depending on application, it may not be centered in width of frame header.
B. Install hinge and emergency release stop.
- 1. Verify frame is square and plumb.
- 2. Using manufactures' installation instructions, mount hinge and frame stop supplied by others.
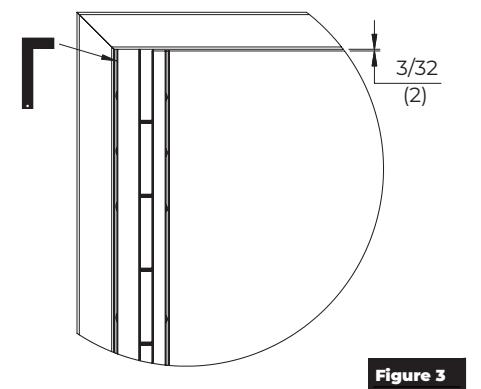
- 3. Mount door to leave 3/32" (2) gap between top of door and frame header. (Figure 3)
NOTE: Door should swing freely.
C. Assemble track.
-
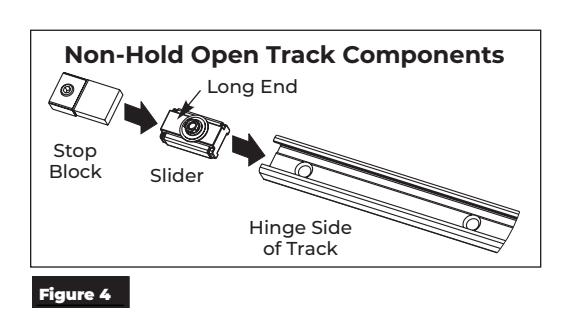
1. Slide track components into track. (Figure 4)
NOTES:
- y All track components must be placed in track before installing track into door.
- y Insert slider into track first.
- y The longer end of slider should be pointed towards hinge side of door.
Security Overhead Concealed Closer W/Emergency Release

Installation (cont.)
D. Install track to door.
- 1. Make sure slider and track components are installed prior to installing track to door. See Step C.
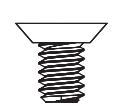
- 2. Install track into top of door using a T30 Security Torx bit with four (4) 1/4- 20 x 3/4-FHMS-TORX machine screws for metal doors. (Figure 5).
NOTES:
- y If necessary, use optional retrofit spacer (replacement application only, consult factory).
- y Track endcap is oriented away from hinge edge of door.
Optional Retrofit Track Spacer 1/4-20 x 3/4-FHMS-TORX (4 each) Hinge Side Figure 5 Endcap
E. Install closer.
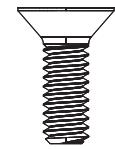
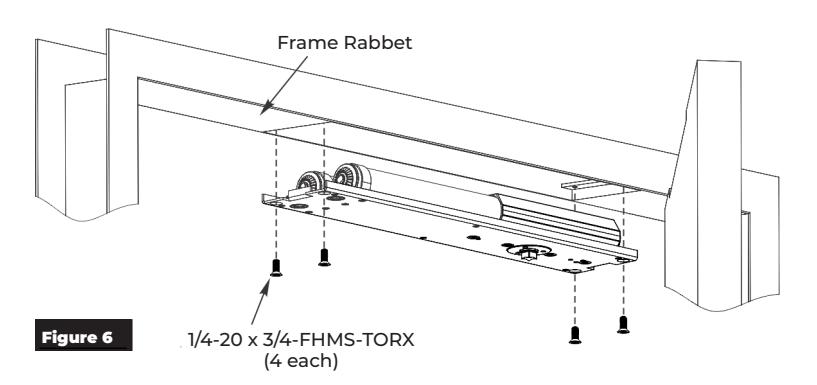
1. Install closer into frame using a T30 Security Torx bit with four (4) 1/4-20 x 3/4-FHMS-TORX machine screws. (Figure 6)
NOTE: Mounting plate should be flush with frame rabbet.
F. Install cover plate.

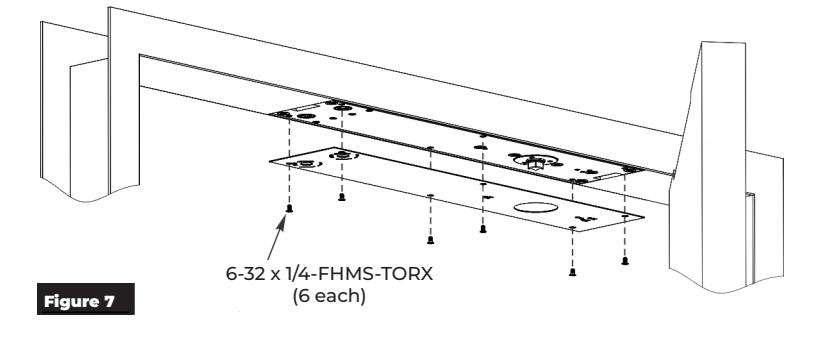
1. Install cover plate to closer body using a T10 Security Torx bit with six (6) 6-32 x 1/4-FHMS-TORX machine screws. (Figure 7)
G. Attach arm to closer.
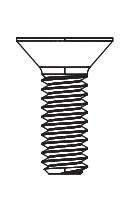
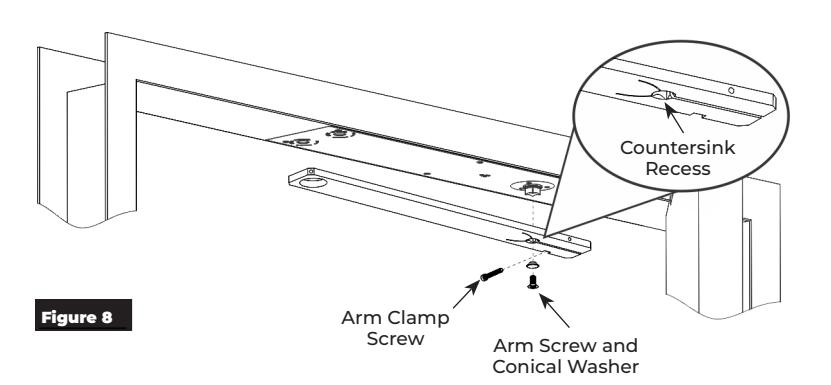
1. Attach arm to closer shaft using a T30 Security Torx bit and 1/4-20 x 3/4-FHMS-TORX w/Nylon Patch screw and washer. Tighten securely. (Figure 8)
NOTE: Ensure countersink recess side of arm faces down.


Security Overhead Concealed Closer W/Emergency Release
Installation (cont.)
H. Attach arm to track.
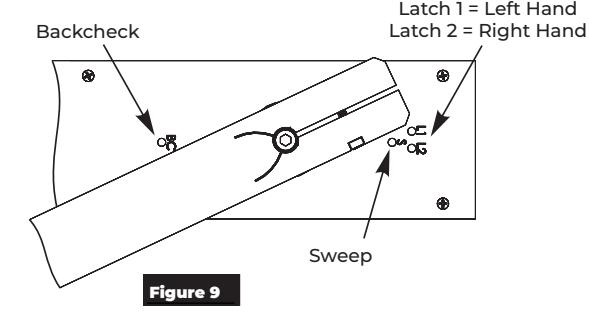
1. With provided 1/8" hex wrench, completely tighten latch and sweep valves by turning clockwise. This will allow for an easier closer-to-door connection. (Figure 9)

CAUTION: Arm will be under strong spring force to return if valves are not tightened completely closed.
2. Open door to about 45° then rotate arm over to door.
NOTES:
- y With latch and sweep valves tightened, arm will maintain position.
- y If door is opened beyond 45°, backcheck may need to be adjusted counter clockwise to easily rotate arm to door position.
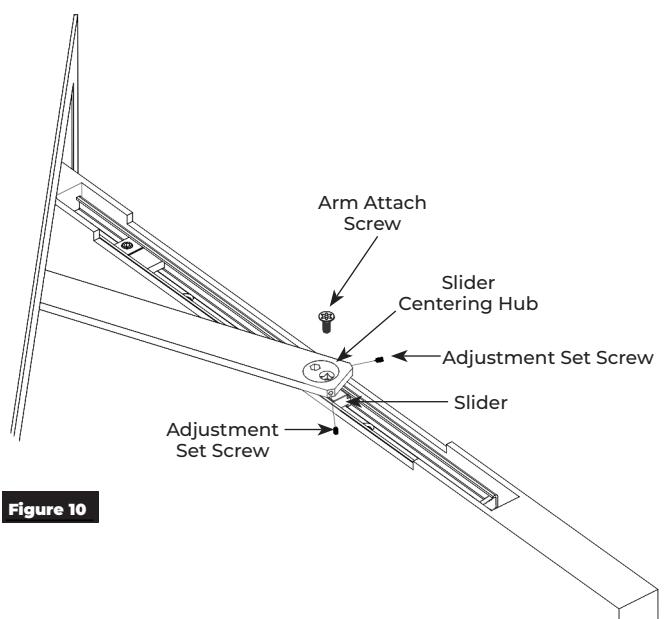
- 3. Install slider centering hub through arm into slider. (Figure 10)
NOTE: Countersink recess should face up.
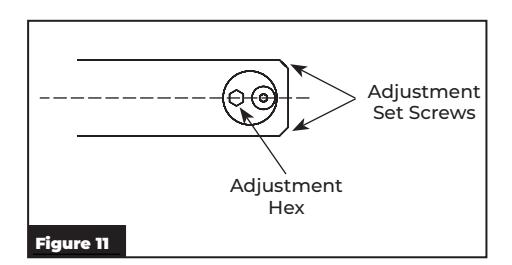
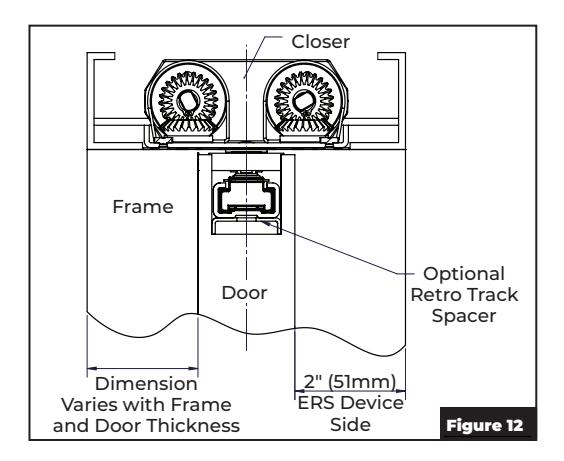
4. Align hub initially as shown and insert two (2) 10-24 x 3/8" Adjustment Set screws. Turn both set screws just enough to retain slider centering hub. Do not tighten firmly at this time. (Figure 11)
NOTE: Align square shank of slider with square in centering hub for proper fitment.
NOTE: DO NOT fully open valves. Valves will leak.
7. When door is completely aligned, tighten both adjustment set screws.
Security Overhead Concealed Closer W/Emergency Release

Adjustments
Speed Adjustment
Use provided 1/8" hex wrench to adjust sweep, latch and backcheck valves to control speed of door. (Figure 13)

NEVER completely close backcheck valve. NEVER use backcheck as a dead stop. NEVER fully open valves. Valves will leak.
Do not use a power drill. Warranty will be void.
Closing Force Adjustment
If additional force is needed, use 3/8" hex wrench to adjust closing force. (Figure 14)
Use spring adjustment screw that corresponds with hand of swing. (Figure 13)

Do not use a power drill. Warranty will be void.

All 73BHER closers are factory set to minimum force. Adjust closer as necessary for more force taking into consideration door size, weight, positive room pressure, etc.
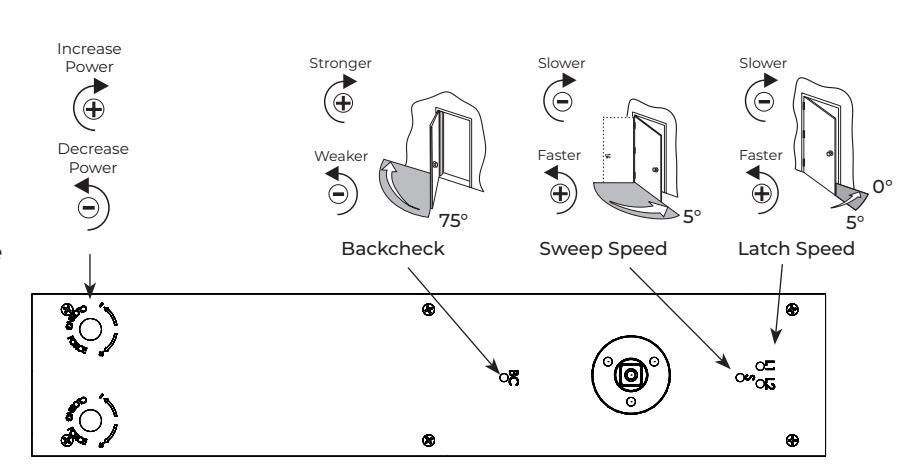
Figure 13
| Spring Power Adjustment for Closing Force (Closer shipped at lowest setting) | ||||||
|---|---|---|---|---|---|---|
| Model PH73BHN | Model 73BHN | |||||
|
Closer
Size |
Description |
Approx
# of 360° Turns |
Closer
Size |
Description |
Approx
# of 360° Turns |
|
| ADA |
<5 lbs
Opening Force |
0 | 1 |
2 - 3 lbs
Closing Force |
0 | |
| 1 |
2 - 3 lbs
Closing Force |
15 | 2 |
3 - 5 lbs
Closing Force |
15 | |
| 2 |
3 - 5 lbs
Closing Force |
30 | 3 |
5 -8 lbs
Closing Force |
35 | |
| 3 |
5 - 8 lbs
Closing Force |
50 | 4 |
8+ lbs
Closing Force |
50 | |
Figure 14
Installation of the Model 73BHER Overhead Concealed Closer is now complete.

Troubleshooting
| Symptom | Cause | Remedy |
|---|---|---|
| Door won't latch | Spring tension not strong enough |
Increase opening force.
See Adjustments on page 7. |
| Latch speed control not fast enough |
Adjust latch speed valve.
See Adjustments on page 7. |
|
|
Door hung on products other than
emergency release hinges specified |
Send template for hanging means to factory. A
new installation sheet is required. Closer may need to be relocated. |
|
| Arm is not preloaded | See Step H. Attach arm to track. on page 6 | |
| Door is too difficult to open | Spring tension is set too strong |
Decrease opening force.
See Adjustments on page 7. |
Model 73BHER Overhead Concealed Closer Template With Emergency Release Hinge Metal Frame

Pemko DSHP01 or Markar DSH1000